
With this recipe, we bring back the very first recipe we created for SpiceTopia! Beyond the Acorn asked us to create several recipes for an issue about outdoor dining. And well, it only made sense to start with a dessert!
Many lemon tart recipes feature a buttery shortbread crust with a buttery sweet-sour filling. We’ve switched things up a bit using olive oil instead of butter for both the crust and the filling. Specifically using a blood orange olive oil adds an extra note of citrus flavor that mixes well with the iconic lemon tart’s sweet and sour flavor. Not only is this change delicious, but it also makes this a dairy-free tart recipe!
Our locally produced olive oil has amazing health properties as well as a fruity peppery flavor which adds an extra layer of deliciousness. The monounsaturated fats of olives help keep your cholesterol levels in check as well as feed your brain and lower the risk of heart disease. Adding it to our baking makes treats less like treats–and more like an everyday healthy indulgence!
This is a tart that will impress and seems like a special occasion recipe, but is really easy and comes together with about 20 minutes’ worth of work!
Ingredient Notes
Sugar. We use both granulated and powdered sugar in the crust portion of this recipe. Substituting a few tablespoons of powdered sugar for granulated sugar in the crust makes for a softer texture of the crust.
Cardamom. Cardamom has a bit of sweetness, a bit of citrus flavor, and a really tiny bit of warmth. All of those flavors pair really well with the citrus flavors and the fruity warm flavor of the olive oils. When enjoying this tart, you won’t be thinking about cardamom, but you will notice undertones of something special–that’s the cardamom.
Arbequina Extra-Virgin Olive Oil. The fruity peppery flavor of this olive oil enhances the lemon flavor.
Co-Pressed Blood Orange Olive Oil. Co-pressed olive oil is olive oil pressed with other ingredients. In this case, blood oranges are pressed with the olives during the oil extraction process to create a mild flavor of blood orange zest without any bitterness. The blood orange flavor cuts through the tartness of the lemon giving this tart a bit more mellow flavor than most lemon tarts.
Technique
Crust: Since the crust is simply flour, sugar, olive oil, salt, and cardamom, it is easy to stir together and then press into your pan. This recipe calls for a 9-inch tart pan with a removable bottom. This makes it easy to remove your tart for a beautiful presentation. If your kitchen doesn’t sport a tart pan, a pie pan works just as well. Do keep in mind a pie pan tends to be deeper than a tart pan. This recipe creates a fairly shallow “pie” if created in a pie pan.
When baking with olive oil instead of butter, the browning of your baked goods is different. This tart crust does not brown in the same way as a crust created with butter. About twenty minutes will produce a perfectly baked crust though it is not the shade of brown you are used to with baked crusts. Baking it longer will not create a brown crust, but will rather create a really hard crust! We learned this little tidbit from experience! Though of course, no crust was too hard to not eat when filled with lovely lemon filling!
Filling: The filling doesn’t take long to make, but does require attention the entire time. The name of the game is stirring! The filling needs to be stirred the whole time it is being cooked to keep the eggs from scrambling.
When you first start heating your filling ingredients, the mixture will be thick and hard to whisk. As the sugar starts to melt, your filling will become extremely thin. After about 5 minutes, it will start to thicken. During each of these stages, keep stirring!
Cook until it is the texture of an extremely loose pudding. If you have a candy thermometer, this will be at about 150 degrees Fahrenheit. At that point, remove it from the heat and stir in the Blood Orange Extra Virgin Olive Oil. The mixture will look curdled when the oil is first added. Stir! It will come together into a creamy mixture.


Olive Oil Lemon Tart
Olive Oil Lemon Tart Recipe
Crust Ingredients:
Filling Ingredients:
Instructions
Crust:
-
Adjust your rack to the middle of the oven and preheat to 350 degrees Fahrenheit.
-
To make the crust, whisk together 1 ½ cups of flour, 5 tablespoons sugar, 2 tablespoons powdered sugar, cardamom, and ½ teaspoon salt.
-
Stir in both ¼ cups of olive oils and water until all the liquid and dry ingredients are incorporated.
-
Crumble ¾ of this dough over the bottom of a 9-inch tart pan with a removable bottom.
-
Use your hands to gently press dough into a uniform layer across the bottom of the tart pan.
-
Crumble the remaining dough around the edges of the pan. Using your fingers, gently press the dough up the edges of the tart pan.
-
Place the pan on a baking sheet. Bake until crust is firm to touch--20-22 minutes.
Filling:
-
About 10 minutes before your crust is finished baking, begin your filling by whisking together 1 cup sugar, 2 tablespoons flour, and ¼ teaspoon flake salt in a medium saucepan.
-
Whisk in eggs and yolks until all is combined and a uniform pale yellow.
-
Whisk in lemon zest and juice.
-
Cook over medium-low heat--whisking constantly to prevent your eggs from scrambling.
-
When you first start heating your filling ingredients, the mixture will be thick and hard to whisk. As the sugar starts to melt, your filling will become extremely thin. After about 5 minutes, it will start to thicken. Cook until it is the texture of an extremely loose pudding. If you have a candy thermometer, this will be at about 150 degrees Fahrenheit.
-
Remove from heat and stir in ¼ cup Blood Orange Extra Virgin Olive Oil. The mixture will look curdled when the oil is first added. Keep stirring--it will come together into a creamy mixture.
-
Pour into the baked crust and smooth out.
-
Bake for about 8 minutes. The filling should still be jiggly.
-
Let cool for at least 2 hours.
-
Remove the outer ring of the pan and carefully transfer it to a plate.
-
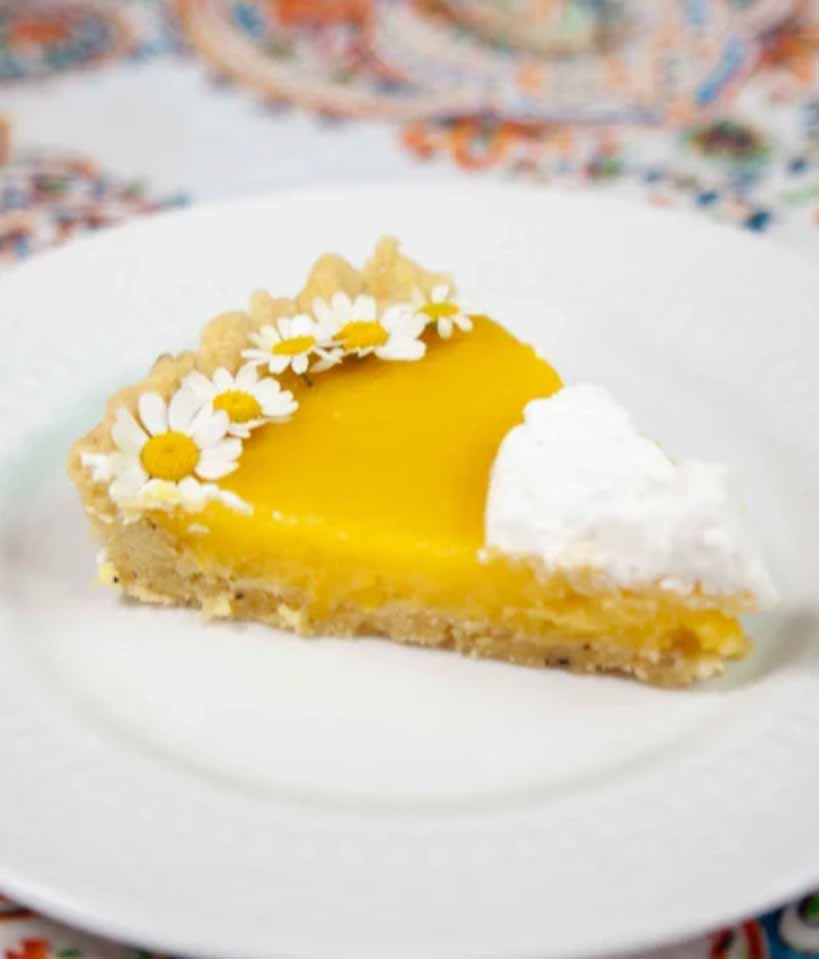
Garnish with flowers, whipped cream, lemon slices, berries–or anything your heart desires!
-
Can be stored in the refrigerator for up to 3 days.
Note
Shop Ingredients: