How to Make Refrigerator Pickles
The methodology to create refrigerator pickles is super simple–a spiced vinegar mixture combined with a fruit or vegetable that has a little jar party in your fridge for about a day as it turns into bites of deliciousness. That’s it!
It’s doable with about 15 minutes worth of effort on your part–that’s a quick pickle recipe!
Wondering what to do with that surprise produce in your weekly CSA box? Or do you need something to do with green beans you meant to add to the meal you never made? Refrigerator pickles to the rescue! Pickling allows you to use up produce in your kitchen that might go to waste–and it creates a flavor that will get you a WOW every time!
Today, we’re pickling kumquats and carrots, but we challenge you to let your imagination guide you and create your own signature pickle. Green beans, berries, cherry tomatoes, green tomatoes, stone fruit–even cucumbers work with this method.
So what is this method we talk of?
It’s a straightforward three-step process that is easily mastered. And once you learn it, you’ll be able to whip up and create pickles anytime you have produce and an extra 10-15 minutes of time.
Step One: Prepare Your Produce
You’ll want to wash your produce well and pick out any fruits or vegetables that aren’t something you’d want to eat. If you don’t want to eat that stem or brown spot before you pickle it, you still won’t want to eat them when they’re pickled!
Next peel, trim and get those future pickles into bite-size pieces. Keep in mind what you’ll be using the pickles for when deciding how to trim them. If your carrot pickles are for a salad, you’ll want to thinly slice them. If your carrots are for a veggie plate, you’ll want to cut them into sticks. We’ve cut our kumquats in half and peeled and cut our carrots into sticks that fit into our jar.
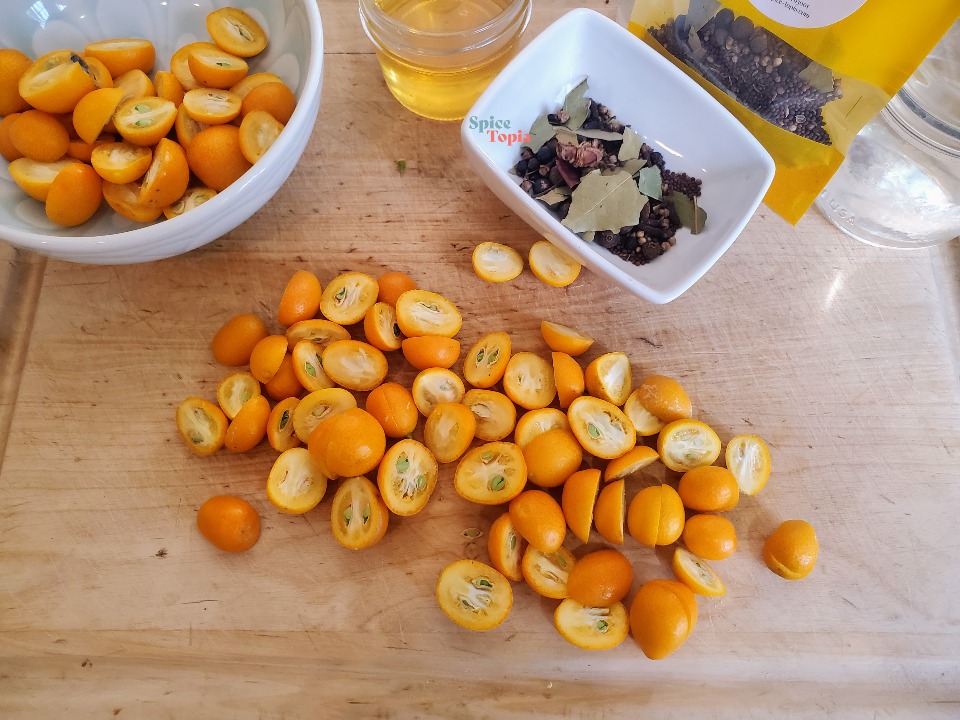
Then comes the decision of whether or not to cook our produce before cooking it.
- Delicate produce does not need to be cooked ahead of time.
- Zucchini
- Berries
- Cucumbers
- More hearty produce could do with a quick boil.
- Cauliflower
- Citrus Fruit
- Carrots
Don’t stress about deciding this–this is a low-risk recipe as we are creating one jar of pickle at a time. If you decide not to pre-boil this time and your veggie ends up too crunchy for your taste, you’ll know to do it differently next time. The same goes if you end up with something a bit too soggy for your taste. Cooking is all about learning a methodology and then experimenting with that method until you are able to cook from instinct and experience.
Step Two: Create Your Pickling Liquid
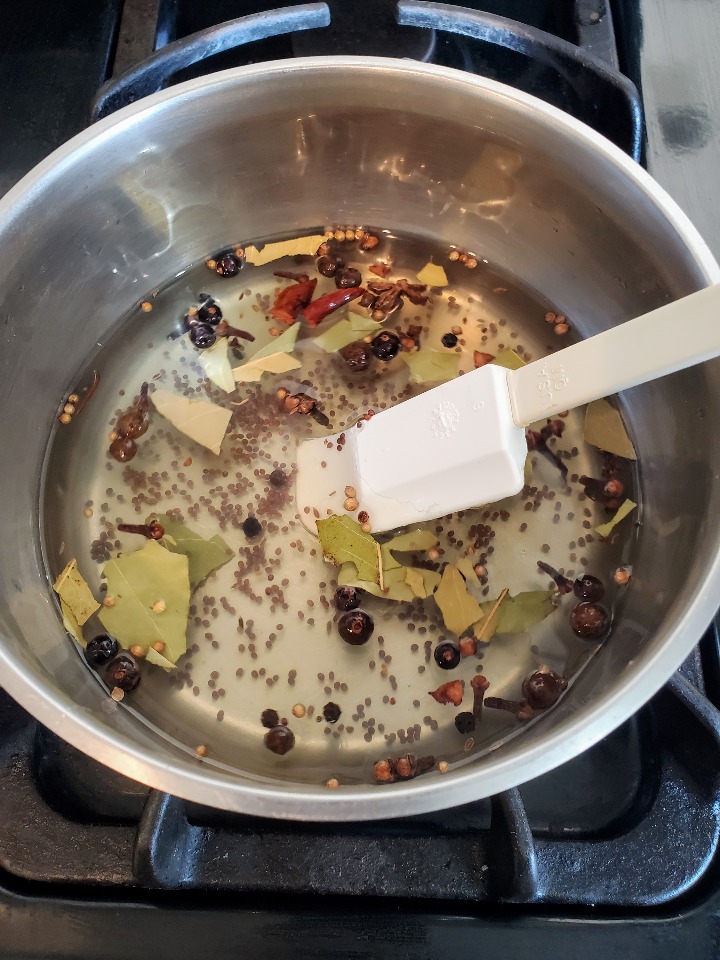
Refrigerator pickles brine recipe is super simple to create.
The pickling liquid is an important way to add flavor as refrigerator pickles–or quick pickles– do not rely on brining or fermentation for flavor. And that liquid is just a flavored vinegar. For our fruits, we add a bit of sugar or honey to our vinegar–we skip the sugar for our carrots. You need a bit of salt as well. Then comes the Pickling Spice.
What is Pickling Spice? Pickling Spice is a blend of whole and mostly whole spices whose only job is to bring flavor to your pickles. Most pickling spices start with mustard seed, dill seed, peppercorns, and bay leaves–and ours certainly includes that but goes further in adding allspice, cloves, star anise, coriander, juniper, and cardamom–as well as a bit of Thai Bird Chile. This mix is a recipe that Emily’s been using for years, and she feels the extra spices add a depth of flavor that works well for quick pickles.
So to sum up, your base pickling liquid or brine is simply vinegar, sugar, salt, and pickling spice. You can of course add additional spices and flavorings. We like adding dill and a bit more spice to our carrots. Again, we suggest you get creative with your pickles–but if you’re just not feeling adventurous yet, the basic mix of vinegar, sugar, salt, and Pickling Spice will work just fine!
Third Step: Bring It All Together!
Bring it all together on the stove:
- Dissolve the salt and sugar (or honey) in your vinegar over medium-low heat
- Then add your Pickling Spice
- Keep the liquid at a simmer (low boil) and add in the produce you are pickling.
- Simmer for 1-2 minutes.
And now, you almost have a pickle! The only thing left to do is place it in a jar, cover with a lid, and put it in the fridge for at least 24 hours.
So Now That You’ve Created a Refrigerator Pickle, What Do You Do With it?
Well, we won’t judge if you snack on them right out of the jar with your fingers! They are also an easy way to spice up your favorite meat dish or even a plain bowl of rice and/or beans. We also love adding our little pickled delights to a fancy cheese plate–or an unfancy grilled cheese! And they are fun little bites to find in your salad.
Let’s Get Cooking
Pickled Kumquat Recipe
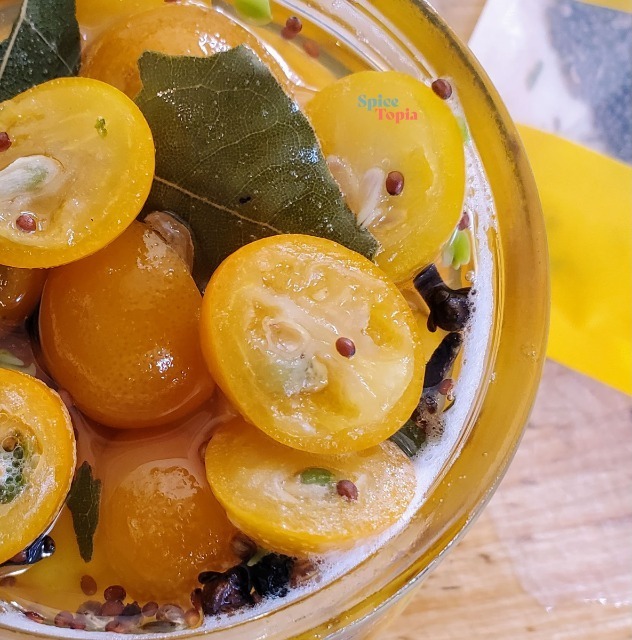
Pickled Carrots Recipe
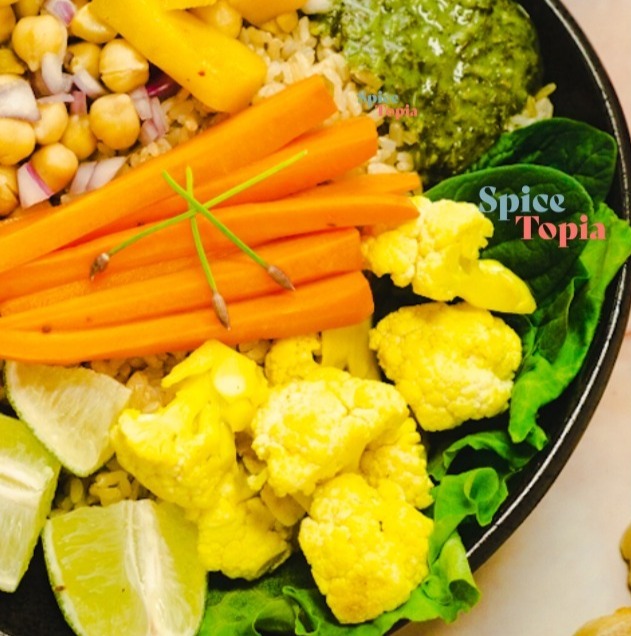
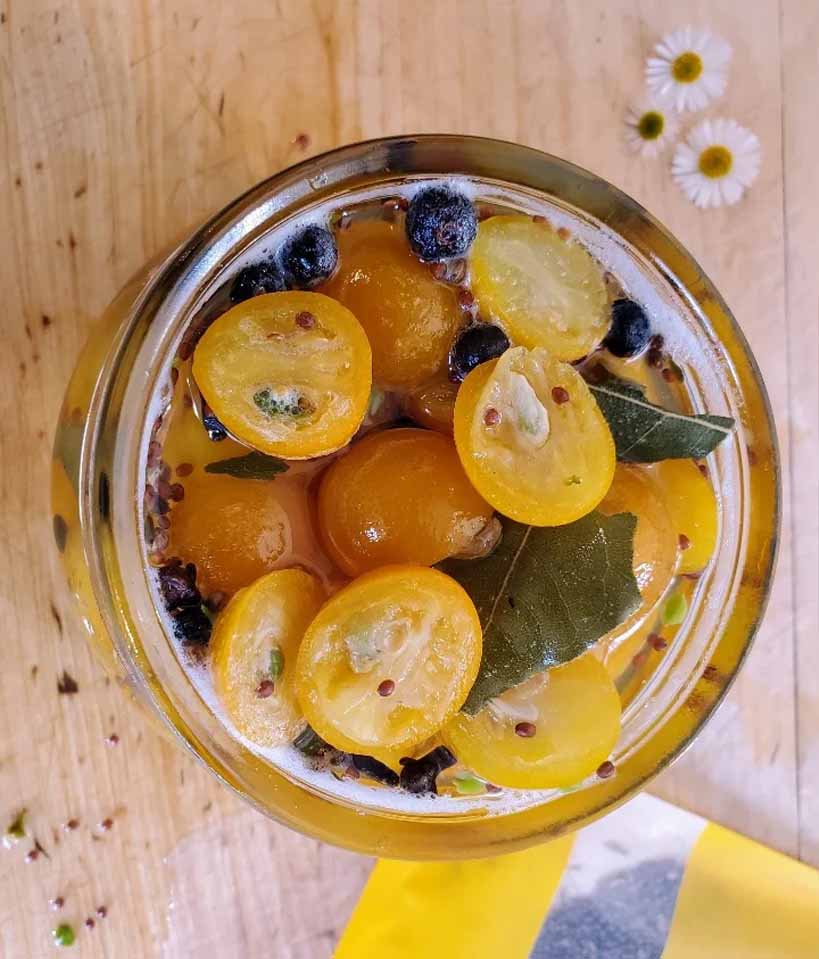
Easy Refrigerator Pickles
Ingredients
Pickled Kumquat Recipe
Pickled Carrots Recipe
Instructions
Pickled Kumquat Recipe
-
Wash kumquats well. Slice in half.
-
Place in small pot and cover with water.
-
Bring to a boil.
-
Turn off flame and cover pot with lid. Let sit for 5 minutes.
-
Drain kumquats.
-
In same pot, combine remaining ingredients and bring to a simmer.
-
Add back in kumquats and simmer for 2 minutes.
-
Pour liquid and kumquats into a jar with a lid.
-
Refrigerate for 24 hours before enjoying.
Pickled Carrots Recipe
-
Wash and peel carrots. Cut into carrot sticks that will fit in your jar.
-
If needed, remove stem end of chile and trim to fit into jar.
-
Peel and lightly smash garlic cloves.
-
In each jar, add in garlic cloves, chiles, and then pack in carrots. All the carrots should be standing up straight with about 1/2 an inch of space at the top of the jar.
-
In a small pot over medium heat, create pickling brine. Heat vinegar, salt, sugar, pickling spice, water, and dill seed. Stir until salt and sugar have dissolved.
-
Pour hot brine into jars of carrots. Tap lightly on the counter to make sure liquid gets into all the nooks and crannies. Add more brine if necessary to cover carrots completely.
-
Add lids to jars. Allow to sit out at room temperature for 1 hour.
-
Refrigerate for 24 hours before enjoying.


